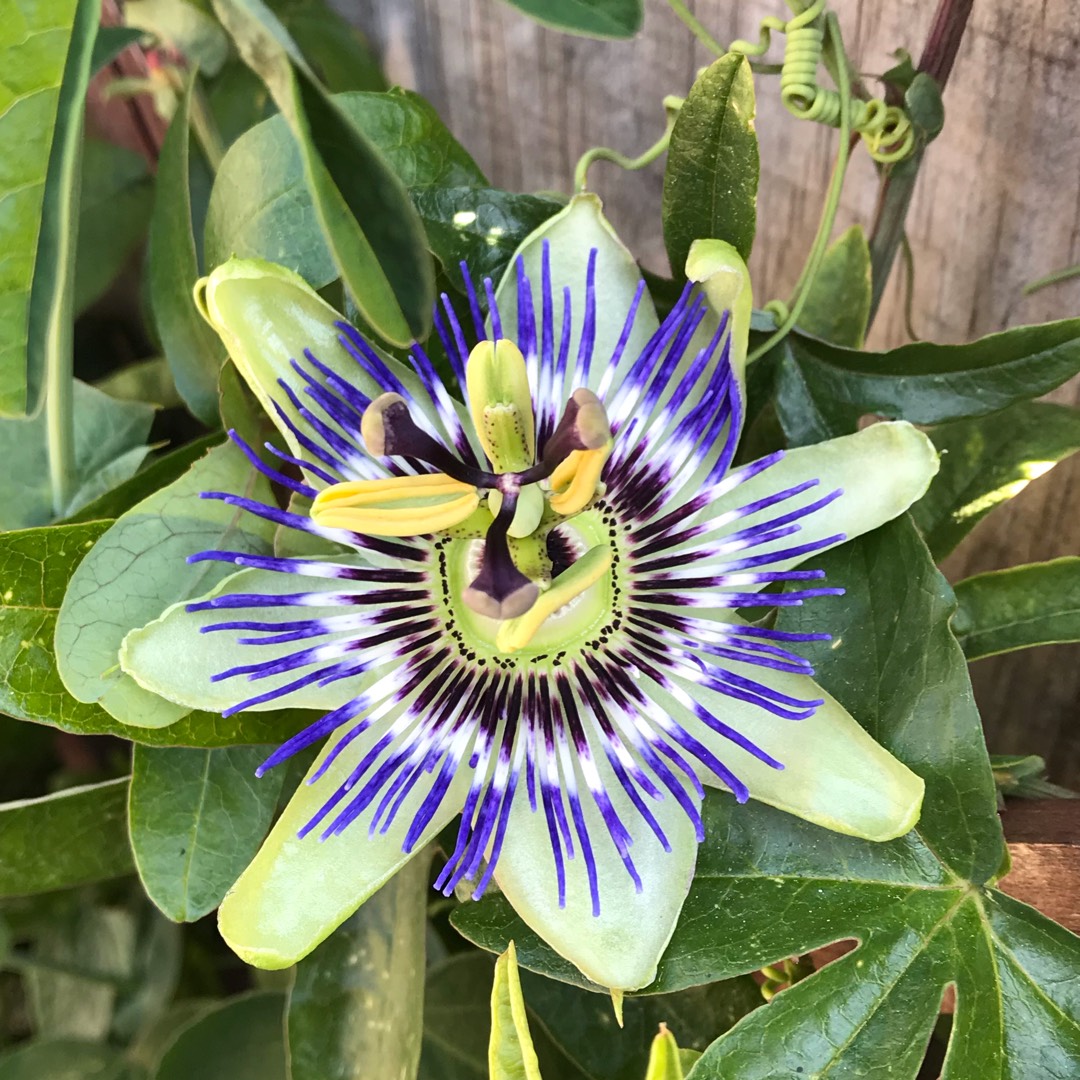
Passiflora caerulea
Blue Passion Flower
P. caerulea is a vigorous large deciduous or semi-evergreen climber with twining tendrils. Leaves dark green, with 5-7 finger-like lobes. Flowers to 8cm in width, white, with blue and purple coronal filaments. Fruits ovoid, 4cm, orange. They are edible but not very tasty!
-
Full sun
-
Occasional watering
-
A little frost hardy: 32F (0°C)
-
Moist and free draining
Common name
Blue Passion Flower
Latin name
Passiflora caerulea
type
Climber
family
Passifloraceae
ph
5.6 - 7.8 Acid - Neutral
Plant & bloom calendar
-
Best time to plant
-
When the plant will bloom
full grown dimensions
 3.50 M
10.00 M
Passiflora caerulea
P. caerulea is a vigorous large deciduous or semi-evergreen climber with twining tendrils. Leaves dark green, with 5-7 finger-like lobes. Flowers to 8cm in width, white, with blue and purple coronal filaments. Fruits ovoid, 4cm, orange. They are edible but not very tasty!
Flowering Season
From Mid Summer TO Late Autumn
Most varieties of passiflora flower between mid-summer and late autumn. Warm autumnal weather may prolong flowering of outdoor species.
Plant container plants
From Mid Spring TO Early Summer
Plant container plants in a sunny position, ideally in a greenhouse border or in a conservatory. Train them up strings or wires. Outdoor varieties can be planted in containers or directly into well drained soil in a sunny position, preferably sheltered by a wall. All types need support.
Propagation by Semi Hardwood Cuttings
From Mid Summer TO Mid Summer
Semi hard wood cuttings are taken from the current years growth from late summer to mid autumn the bottom of the cuttings is hard and soft on the top. With a sharp knife take a cutting of about 14 cms, remove lowest leaves, dip end into rooting hormone, and place round the edge of a pot filled with a suitable compost, water well, they must remain moist till rooted, place under glass but in semi shade.
Propagation by Seed
From Mid Spring TO Mid Spring
Fill a seed tray with seed compost,water and allow to drain. Sprinkle seeds over the surface allowing roughly 25mm space between seeds and cover with a thin layer of compost. Put tray in a clear polythene bag and place on a windowsill. When seedlings show remove plastic bag. When the second pair of leaves appear on the seedlings thin out to 50mm spacing by removing the weakest looking plants. After 2 or 3 weeks and when danger of frost has passed plants can then be planted outside into required position.


